Voice Assistant HA-OS
Midori AI has been unable to reach the author of this page. Please be aware the content may be out of date and could be removed if we cannot contact them.
In this guide I will explain how I’ve setup my Local voice assistant and satellites!
A few softwares will be used in this guide.
HACS for easy installation of the other tools on Home Assistant.
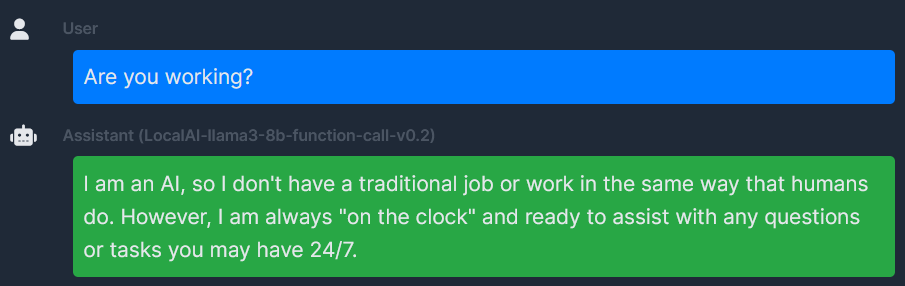
LocalAI for the backend of the LLM.
Home-LLM to connect our LocalAI instance to Home-assistant.
HA-Fallback-Conversation to allow HA to use both the baked-in intent as well as the LLM as a fallback if no intent is found.
Willow for the ESP32 sattelites.
Step 1) Installing LocalAI
We will start by installing LocalAI on our machine learning host.
I recommend using a good machine with access to a GPU with at least 12 GB of Vram. As Willow itself can takes up to 6gb of Vram with another 4-5GB for our LLM model. I recommend keeping those loaded in the machine at all time for speedy reaction times on our satellites.
Here an example of the VRAM usage for Willow and LocalAI with the Llampa 8B model:
+-----------------------------------------------------------------------------------------+
| NVIDIA-SMI 555.42.02              Driver Version: 555.42.02      CUDA Version: 12.5     |
|-----------------------------------------+------------------------+----------------------+
| GPU  Name                 Persistence-M | Bus-Id          Disp.A | Volatile Uncorr. ECC |
| Fan  Temp   Perf          Pwr:Usage/Cap |           Memory-Usage | GPU-Util  Compute M. |
|                                         |                        |               MIG M. |
|=========================================+========================+======================|
|   0  NVIDIA GeForce RTX 3090        Off |   00000000:01:00.0 Off |                  N/A |
|  0%   39C    P8             16W /  370W |   10341MiB /  24576MiB |      0%      Default |
|                                         |                        |                  N/A |
+-----------------------------------------+------------------------+----------------------+

+-----------------------------------------------------------------------------------------+
| Processes:                                                                              |
|  GPU   GI   CI        PID   Type   Process name                              GPU Memory |
|        ID   ID                                                               Usage      |
|=========================================================================================|
|    0   N/A  N/A      2862      C   /opt/conda/bin/python                        3646MiB |
|    0   N/A  N/A      2922      C   /usr/bin/python                              2108MiB |
|    0   N/A  N/A   2724851      C   .../backend-assets/grpc/llama-cpp-avx2       4568MiB |
+-----------------------------------------------------------------------------------------+
I’ve chosen the Docker-Compose method for my LocalAI installation, this allows for easy management and easier upgrades when new relases are available.
This allows us to quickly create a container running LocalAI on our machine.
In order to do so, stop by the how to on how to setup a docker compose for LocalAI
Setup LocalAI with Docker Compose
Once that is done simply use docker compose up -d and your LocalAI instance should now be available at:
http://(hostipadress):8080/
Step 1.a) Downloading the LLM model
Once LocalAI if installed, you should be able to browse to the “Models” tab, that redirects to http://{{host}}:8080/browse. There we will search for the mistral-7b-instruct-v0.3 model and install it.
Once that is done, make sure that the model is working by heading to the Chat tab and selecting the model mistral-7b-instruct-v0.3 and initiating a chat.
Step 2) Installing Home-LLM
-
1: You will first need to install the Home-LLM integration to Home-Assistant
Thankfuly, there is a neat link to do that easely on their repo!Open your Home Assistant instance and open a repository inside the Home Assistant Community Store.
-
2: Restart
Home Assistant -
3: You will then need to add the
Home LLM Conversationintegration to Home-Assistant in order to connect LocalAI to it.- 1: Access the
Settingspage. - 2: Click on
Devices & services. - 3: Click on
+ ADD INTEGRATIONon the lower-right part of the screen. - 4: Type and then select
Local LLM Conversation. - 5: Select the
Generic OpenAI Compatible API. - 6: Enter the hostname or IP Address of your LocalAI host.
- 7: Enter the used port (Default is
8080). - 8: Enter
mistral-7b-instruct-v0.3as theModel Name*- Leave
API Keyempty - Do not check
Use HTTPS - leave
API Path*as/v1
- Leave
- 9: Press
Next - 10: Select
AssistunderSelected LLM API - 11: Make sure the
Prompt Format*is set toMistral - 12: Make sure
Enable in context learning (ICL) examplesis checked. - 13: Press
Sumbit - 14: Press
Finish
- 1: Access the
Step 3) Installing HA-Fallback-Conversation
-
1: Integrate Fallback Conversation to Home-Assistant
- 1: Access the
HACSpage. - 2: Search for
Fallback - 3: Click on
fallback_conversation. - 4: Click on
Downloadand install the integration - 5: Restart
Home Assistantfor the integration to be detected. - 6: Access the
Settingspage. - 7: Click on
Devices & services. - 8: Click on
+ ADD INTEGRATIONon the lower-right part of the screen. - 8: Search for
Fallback - 9: Click on
Fallback Conversation Agent. - 10 Set the debug level at
Some Debugfor now. - 11: Click
Sumbit
- 1: Access the
-
2: Configure the Voice assistant within Home-assistant to use the newly added model through the
Fallback Conversation Agent.- 1: Access the
Settingspage. - 2: Click on
Devices & services. - 3: Click on
Fallback Conversation Agent. - 4: Click on
CONFIGURE. - 5: Select
Home assistnatas thePrimary Conversation Agent. - 6: Select
LLM MODEL 'mistral-7b-instruct-v0.3'(remote)as theFalback conversation Agent.
- 1: Access the
Step 4) Selecting the right agent in the Voice assistant settings.
- 1: Integrate Fallback Conversation to Home-Assistant
- 1: Access the
Settingspage. - 2: Click on
Voice assistantspage. - 3: Click on
Add Assistant. - 4: Set the fields as wanted except for
Conversation Agent. - 5: Select
Fallback Conversation Agentas theConversation agent.
Step 5) Setting up Willow Voice assistant satellites.
Since willow is a more complex Software, I will simply leave Their guide here. I do recommend deploying your own Willow Inference Server in order to remain completely local!
Once the Willow sattelites are connencted to Home Assistant, they should automatically use your default Voice Assistant.
Be sure to set the one using the fallback system as your favorite/default one!